DMDE - How to Use (DMDE 4.2.0)

DMDE is a software designed to effectively recover lost data. It retrieves files and folders swiftly and stores them in the user-defined location. It is an easy to use yet powerful tool that will assist both novice and experienced users in getting back lost files in just a few simple steps.

For more technical details, see DMDE Manual

Attention! Do not write or install anything to the disk containing lost data (Installation and Run)
Attention! If a disk has physical problems, it is recommended to contact specialists (see Faulty drives)

Step 1. Download and launch DMDE software

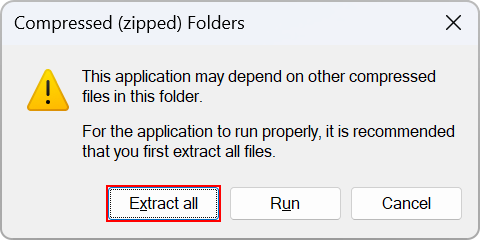
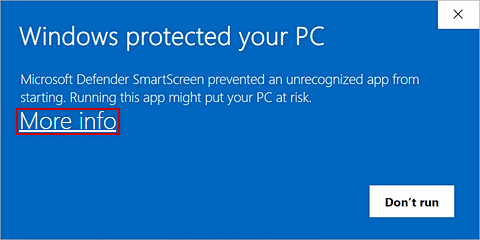
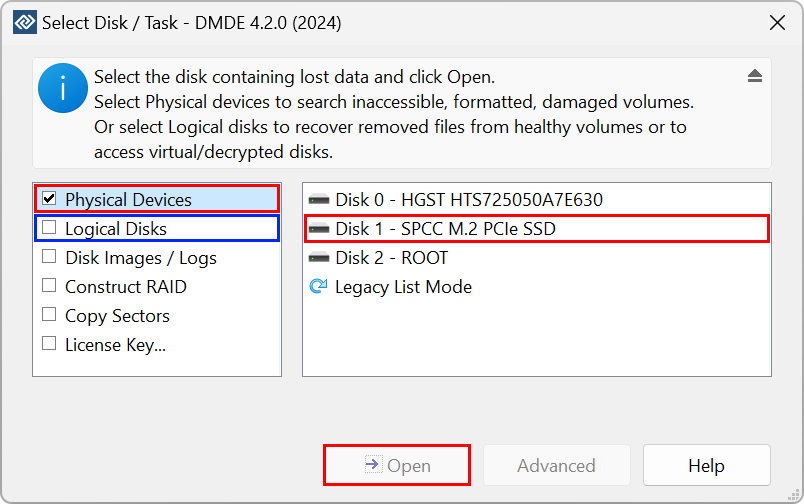
DMDE is a free download. Once downloaded you need to unpack it into a separate folder; as with any other system software, you will be asked for your administrator's credentials. You may also need to click "More info" in the Smart Screen warning when launching a new version on Windows OS. Pay attention that for free you can recover up to 4000 files from a chosen directory, with the unlimited number of repetitions.

Attention! Installation and Run

Step 2. Choose the data source

From the list displayed in an initial window select the disk or device that contains your lost data. You can choose from:

  • Logical disks - to recover removed filed from healthy volumes
  • Physical devices - for lost, formatted, corrupted, inaccessible volumes.

Then press Open button and the pre-scan process will start.

Learn More (Disk / Task Selection)

Step 3. Scan

Two options are possible:

Option 1. If the necessary volume is immediately available select it and click Open Volume button. Immediately visible files will be displayed.

Then you can choose one of two methods:

  • Quick volume scan
  • Full volume scan

Option 2. If the necessary volume is not immediately available, run Full Scan to see other lost volumes and select a needed one.

Learn More (Full Scan)

Step 4. Recover files

Found files can be observed in an Explorer look-alike window. You can preview the contents of standard image files simply by double clicking them.

Tick checkboxes for files, which you wish to recover, and click on the Recover button. Before recovery process starts, you have to choose a directory on another disk to save the data. This will prevent from overwriting the data being recovered.

Learn More (Data Recovery)

You can also always go back to the previous step and change your selection.


This site uses cookies. More Info OK